How to install a cornice - Quick Version
XPS cornice is up to 90% lighter than plaster, so most rooms are a one-person job. Here's the whole process in five steps.
1. Measure & prep
Measure each wall and add 10–15% for offcuts. Wipe down the wall and ceiling edges. Lightly sand glossy or uneven spots with 120-grit and wipe clean.
2. Mark your line
Chalk a level guideline along the wall at your cornice drop height. Start on the most visible wall (usually opposite the entry) and use your longest lengths first to keep joins to a minimum.
3. Cut your corners (45°)
Sit the cornice upside down in a mitre box ceiling edge down, wall edge against the back. Inside corners: blade points toward the corner. Outside corners: blade points away.
4. Glue & fix
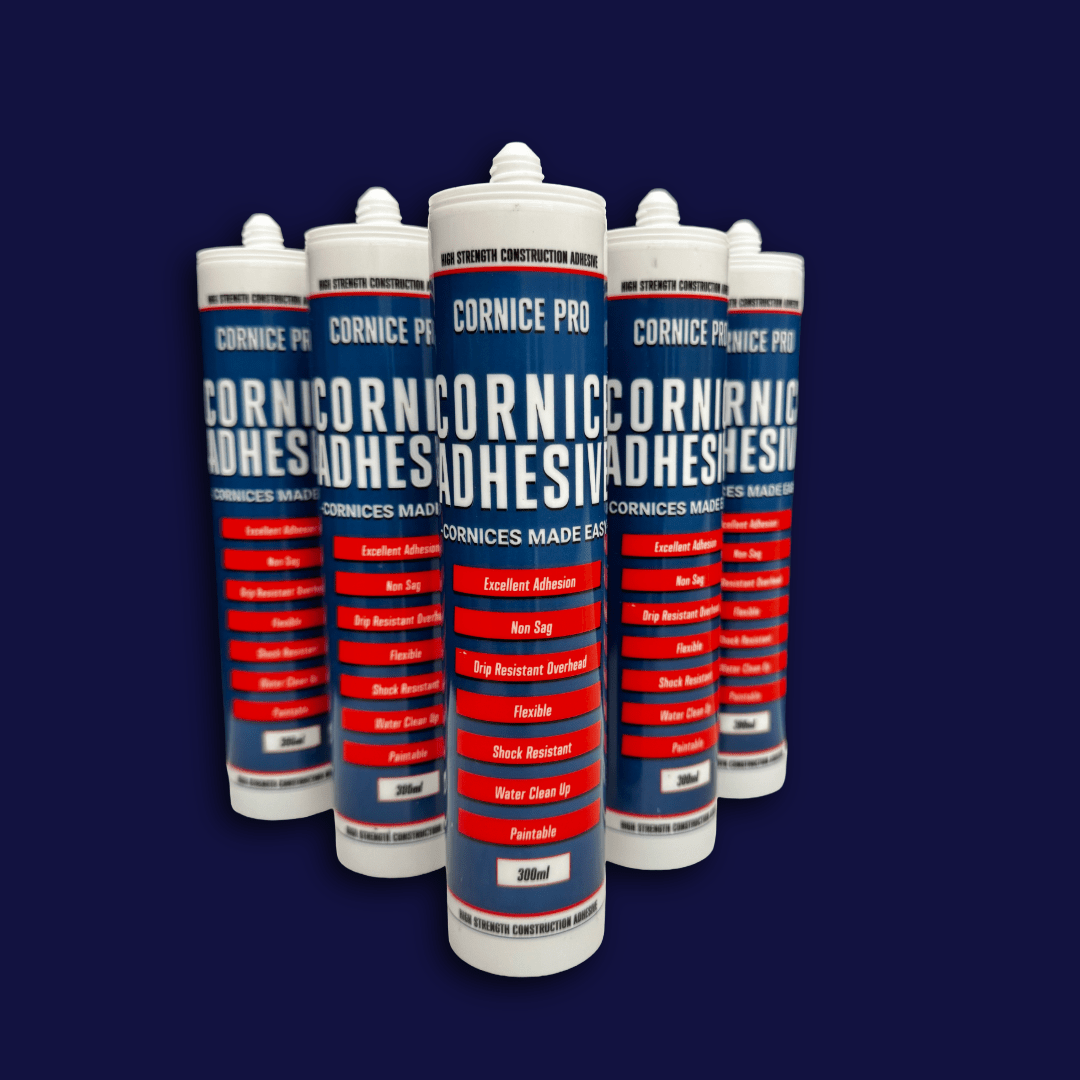
Run Cornice Pro adhesive along both long edges and the joins. Press into place along your chalk line. Hold with sewing pins if needed and wipe off any excess with a damp sponge.
5. Fill, sand & paint
Fill gaps and joints with adhesive or silicone. Leave 24 hrs to set, lightly sand, then prime with a water-based primer. Acrylic paint only on XPS.
Want the full detail, tips and photos? → Read the complete step-by-step guide
Video
How install a cornice in 3 Easy Steps
Follow these simple steps for cornice installation

Measure your area
Measure your area for your cornice installation. Make sure you have the correct drop size and use a chalk line to get a correct measurement around the whole space.
Glue and Stick
Placing your adhesive along the glue lines and joins . Place the cornice on the chalk lines and apply a light pressure . Use a wet cloth and your finger to wipe away any excess glue .

Fill and Paint
Once your adhesive has dried it would have receded slightly , fill joins with some filler until it is flush with the cornice. Allow to dry then sand away any excess. Prime and paint cornices with a water based primer and paint .

Cornice Pro
Cornice Pro Adhesive - Cornice Glue